
how to drill your own water well 2
2023-06-23
A water well can be an essential addition to any rural property, helping to meet the needs of both people and animals alike. Instead of relying on a contractor to provide a ready-made solution, many homesteaders and farmers choose to drill their own well – a choice that can pay off in both savings and pride. After all, having your own personal water source is indeed something special, providing essential hydration and irrigation for many years to come.
In order to drill your own well, you need to begin by identifying a spot to make the hole. A site located on higher ground will be more resistant to flooding, while a spot with lots of bedrock could be trickier to drill in. When you have optimized the area of placement, you will have to acquire approval from your local government in the form of a permit.
When it comes to drilling, you need the right set of tools. Assemble the necessary equipment, which consists of a drill, pump, well screen, and some piping. Get yourself a water supply too; hooking up a hose to an outdoor faucet is a suitable choice.
With your entire set of tools in place, it’s time to begin drilling. It starts with creating a two-inch wide opening that reaches down to a depth of twenty feet. Then begin the process of pumping water into the pit to clear out any excess particles. Don’t stop until the water that is released is crystal-clear.
It is time to take this well to the next level—the well screen. This structure will be the savior of our clean water, designed to keep out any dirt or debris. We must sink it into the hole and securely fasten it to the pipe. And now, all that remains is to turn back on the pump and get the water flowing. Thanks to our new well screen, each drop will be filtered as it rises out of the depths of the ground.
After the well screen is in place, cover it with a protective casing. It should be a pipe slightly larger in circumference than the well screen, secured onto it before being lowered into the hole. Then, take the time to fill the area around the pipe with cement and let it set before proceeding any further. This casing helps to ensure that the well structure itself doesn’t collapse.
Your water well is now ready to go and you can begin using it right away! To make sure that everything is doing as it should, it’s important to remember to inspect the well regularly.
Related Products
-
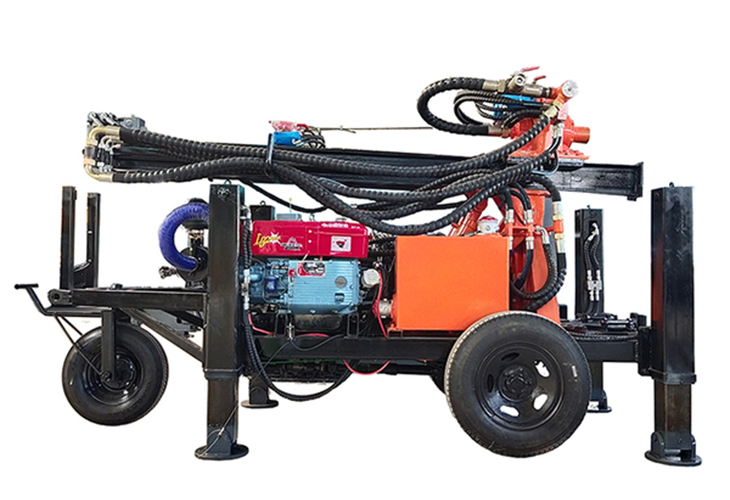
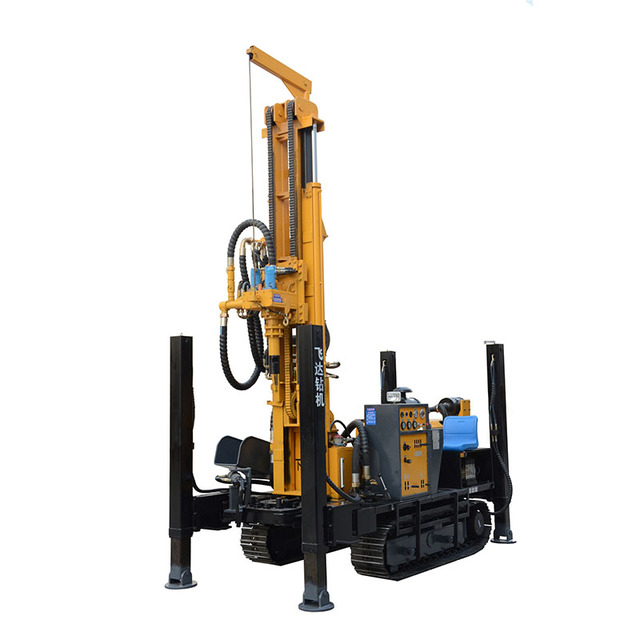
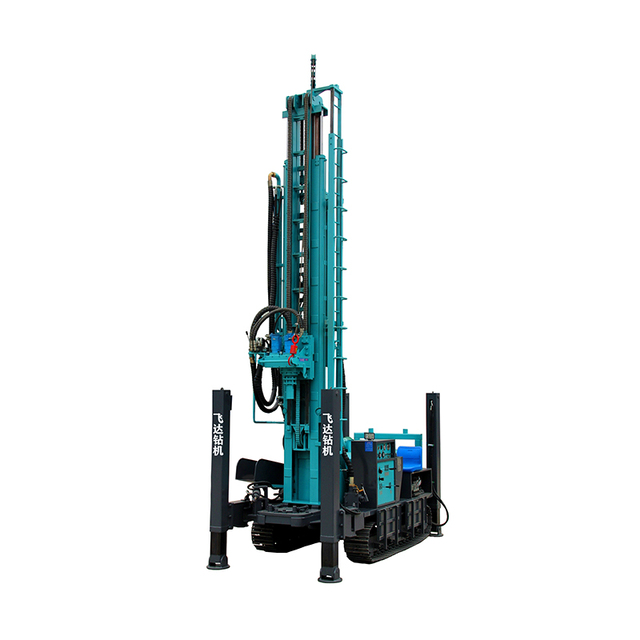 FY350 Water Well Drilling RigView More >
 -
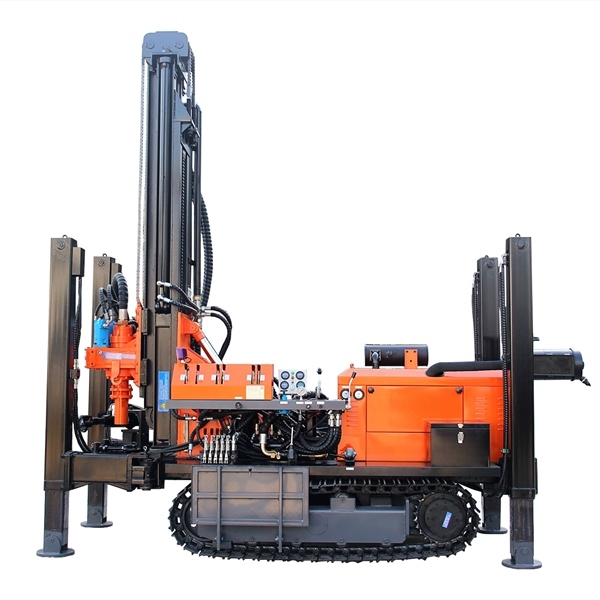
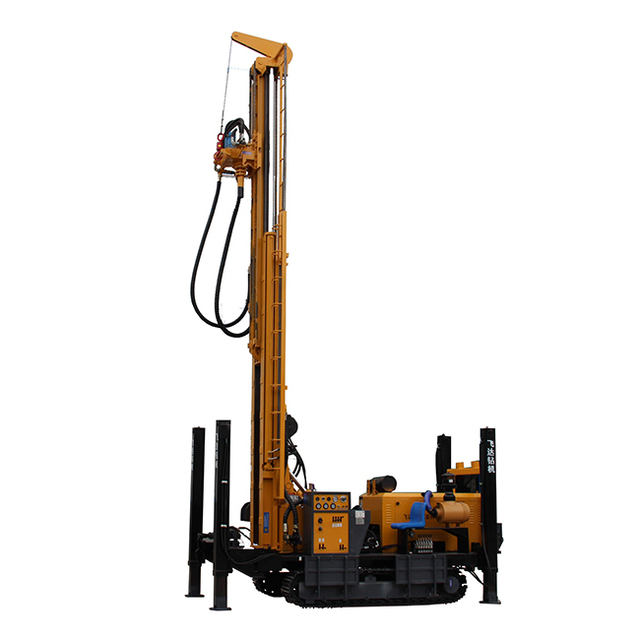 FY500 Water Well Drilling RigView More >
 -
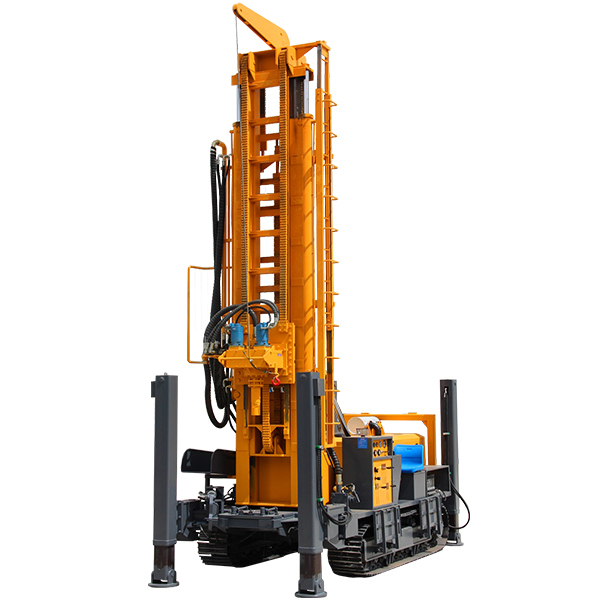 FY680 Water Well Drilling RigView More >
 -
 Electric 4000WView More >
 -
 FY450 Water Well Drilling RigView More >
 -
 FY580 Water Well Drilling RigView More >
 -
 FY130 Water Well Drilling RigView More >
 -
 FY260 Water Well Drilling RigView More >
 -
 FY180 Water Well Drilling RigView More >
Warning: Use of undefined constant rand - assumed 'rand' (this will throw an Error in a future version of PHP) in /www/wwwroot/www.sunritawdr.com/wp-content/themes/msk5/single.php on line 65
Previous :
Next :
Related news
-
water well drilling rigs for sale in dubai
-
water well drilling sudbury ontario
-
deep water well drilling equipmen
-
how to drill a well with water pressure
-
process of drilling an industrial water well
-
water well drilling and rancho cucamonga
-
east texas water well drilling cos
-
hill country water well drilling ingram
Warning: Use of undefined constant rand - assumed 'rand' (this will throw an Error in a future version of PHP) in /www/wwwroot/www.sunritawdr.com/wp-content/themes/msk5/single.php on line 123
