
how to drill your own water well 1
2023-05-25
For those looking to master the art of drilling their own water well, here’s your essential guide! With all the necessary tips and tricks, you can gain the skills to expertly drill your own water resource with ease. Every step is covered, from selecting the appropriate depth for your project, to obtaining the proper permits and safety measures. Discover how you too can prepare and take advantage of this valuable DIY project.
Fed up with exorbitant water bills? Eager to have more sway over your H2O supply in times of drought or crisis? Then consider sinking a well on your premises. With some groundwork, inquiry, and apparatus, you can tap into clear, abundant liquid straight from your plot of land. Here, we will narrate the initial proceedings of crafting your very own well, from choosing a location to drilling specifications.
When it comes to drilling a water well, the most essential point to keep in mind is the location. A number of elements need to be taken into account; these include:
In terms of water availability, you should ascertain the likelihood of the location’s elevation enabling access to water underground. This could include harvesting surface runoff, streams, lakes, or aquifers. Geological maps, hydrologic surveys, or advice from knowledgeable locals are beneficial tools to investigate the locality’s water sources.
When determining the best spot to begin drilling, it is essential to ensure that the ground is of stable composition. Any soil analysis or boring logging carried out should ascertain whether or not the area can resist soil shifting and slumping – necessary for protecting and maintaining the safety of the machinery utilized.
In order to avoid pollutions, it is best to locate your project away from potential contamination sources. These can vary from septic systems, landfills, or even chemical spills. Check out the zoning regulations or contact a local environmental agency to learn more about the land use and potential contamination issues in the area.
4. Logistical considerations: To ensure the successful completion of the drilling project, it is imperative to assess the location’s capability of accommodating the equipment, materials, and personnel. Thus, key elements such as the elevation, slope and the road surface will be inspected in order to determine if accessibility is within accepted standards.
Having picked the spot, you must now gain access to the necessary equipment and devices for the job – be that by acquiring them or securing a rental. The depth, diameter, and sturdiness of the well will determine what type of drills, bits, casings, screens, pumps, and pipes are the best fit. Given this range of options, here are several of the most common pieces of drilling apparatus:
1. The cable tool rig operates through a vintage and dependable process that harnesses a pulley system and cable to heave and plunge a hefty bit to break down the rock and earth.
Employed by countless individuals to dig deep into the earth, the rotary rig is a modern marvel of efficiency. Its rotating bit, outfitted with teeth or cones, is cooled and lubricated with a drilling fluid as it carves through the hardness of the soil and rock below.
Turning towards the rotation of a helical screw, the auger rig method drills into the ground firmly creating either shallow or medium-depth wells with exceptional ease and flexibility.
Leveraging the latest technological advancements, a DTH rig readily pulverizes rock and soil structures to create deep wells with ease. This robust system leverages a down-the-hole hammer and either compressed air or hydraulics to drive the material away from the target site. With this powerful tool, even the most difficult formations can be penetrated.
After amassing the necessary apparatuses and requisites, it is time to ready the site and initiate the drilling process. This entails a series of steps, starting with:
With construction beginning, the area must first be prepared: vegetation, obstructions, or garbage, must all be eliminated. In order to dig, markers should be placed and the landscape leveled, if needed.
A casing pipe should be inserted into the hole in order to avoid any potential soil or debris falling into the well, while also preserving the water quality. Depending on the depth of the well and the type of water present, an appropriate size, thickness, and material for the casing must be selected. This measure will help safeguard the integrity of the well.
When drilling begins, gently lower the bit into the hole and give it a constant spin. Cooling liquid or drilling fluid should be applied to prevent overheating of the bit, while cuttings are extracted from the borehole with the same. To ensure the well’s precise depth, it is essential to adjust the drill pipe’s length or switch out the bit accordingly.
Once the drilling is finished, it is essential to thoroughly flush the well out with either water or air to rid it of any lingering dirt and particles as well as to maximize its permeability. Additionally, an assemblage of either a sieve or a layer of gravel should be used to filter finally purify the water while minimising blockages.
The vital step of fitting a pump and control system comes after successful well development, to enable the extraction and control of water surging through the depths. Making sure the type and size of the pump are appropriate for determining factors such as depth, yield, and water quality – incorporating safety into the entire plan is also essential with devices such as check valves or pressure switches.
A DIY water well may prove to be the best solution for ensuring a reliable and sustainable water supply. Nonetheless, navigating the process of constructing your own well is not an easy task. Therefore, it’s vital to carefully plan ahead and seek professional advice. Before embarking on this undertaking, one should get the required permissions and licenses from the local authorities, uphold safety regulations, and prepare for any surprises along the way. In subsequent articles, we will elaborate more about how to drill your own water well, treat your source of water, keep it in top shape, and tackle any issues that may arise. So keep an eye out for these helpful tips!
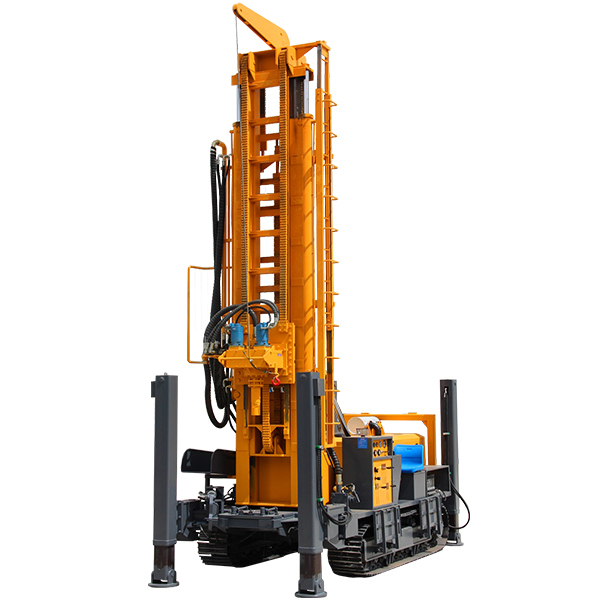
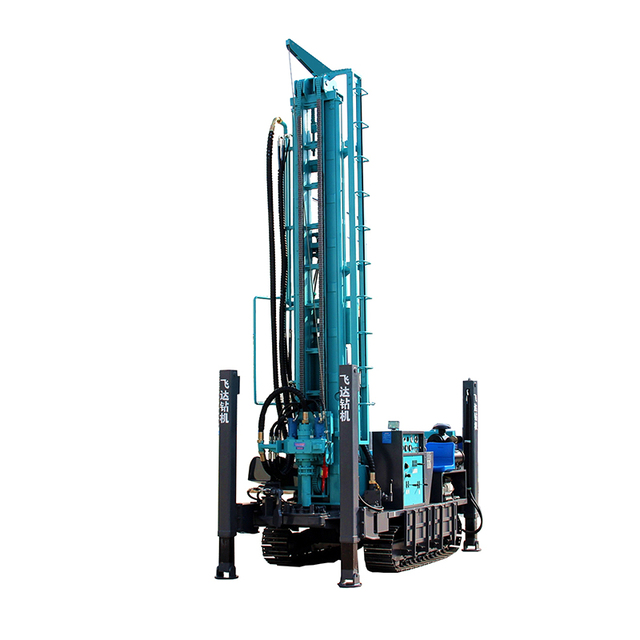
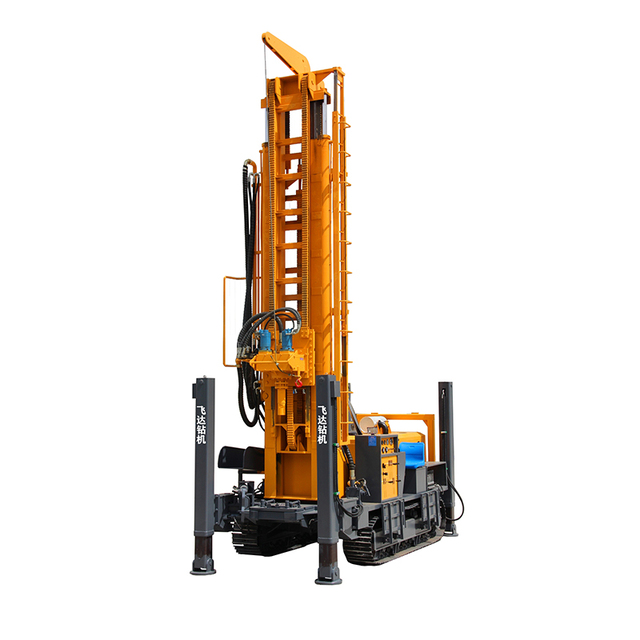
Related Products
-
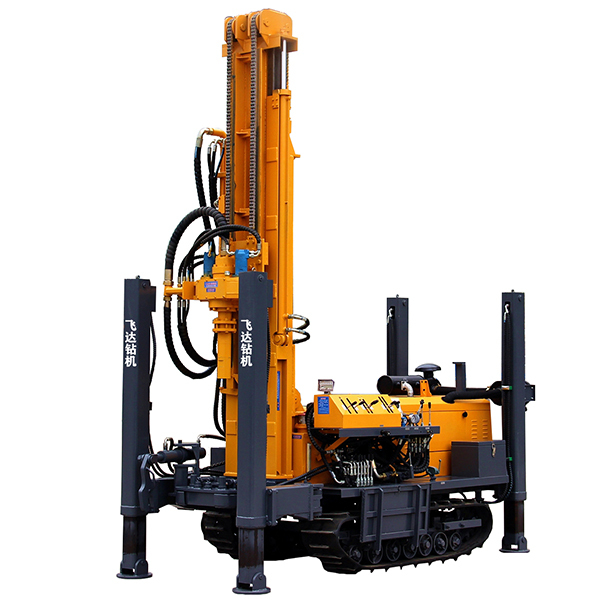 FYX180 Water Well Drilling RigView More >
 -
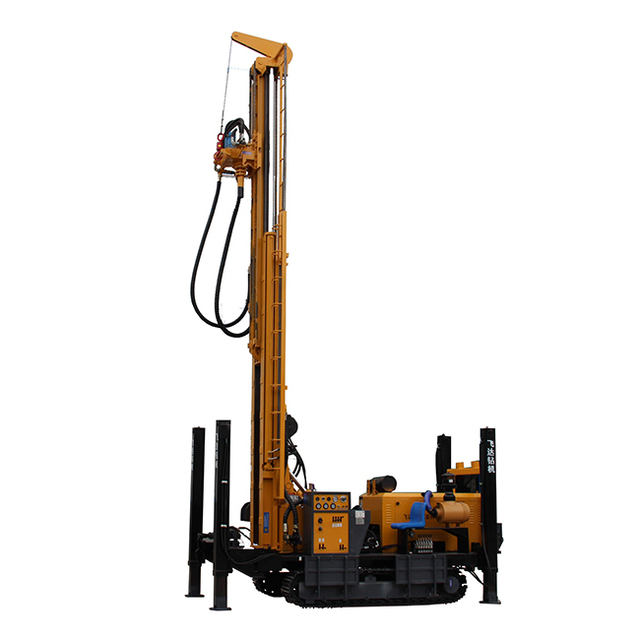
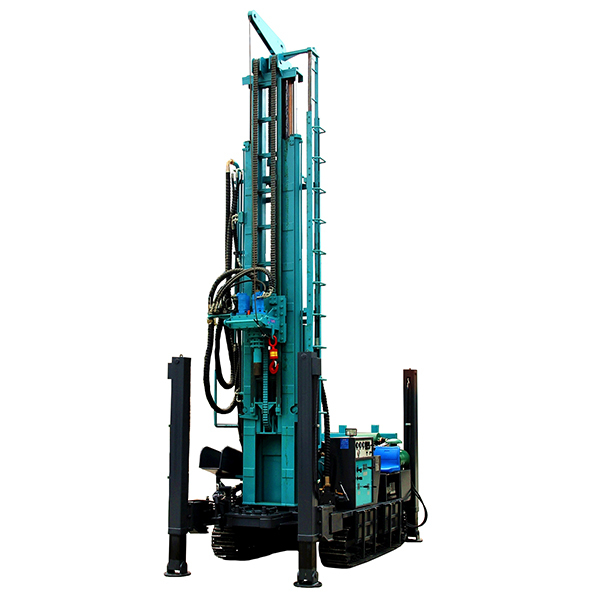
 FY350 Water Well Drilling RigView More >
 -
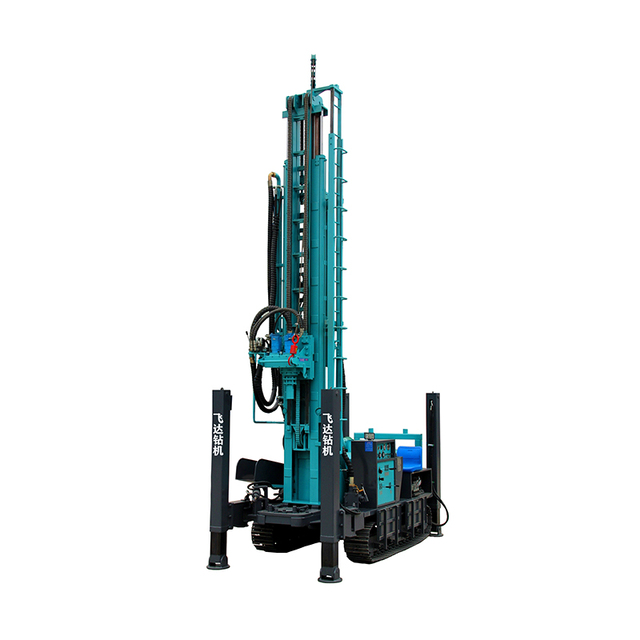
 FY500 Water Well Drilling RigView More >
 -
 FY680 Water Well Drilling RigView More >
 -
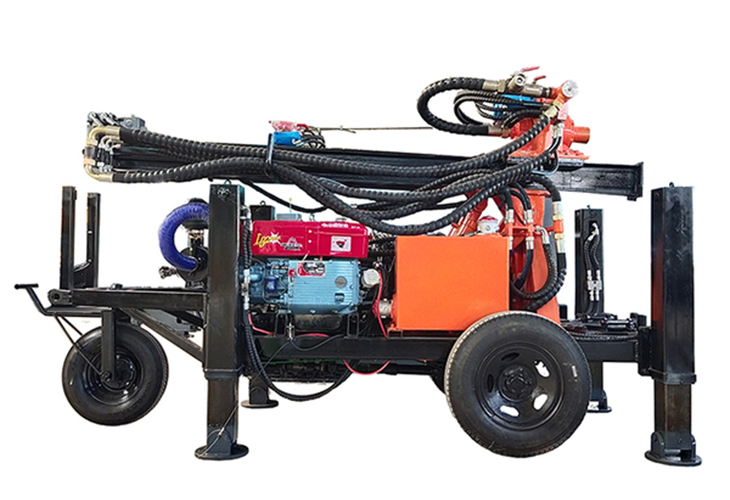
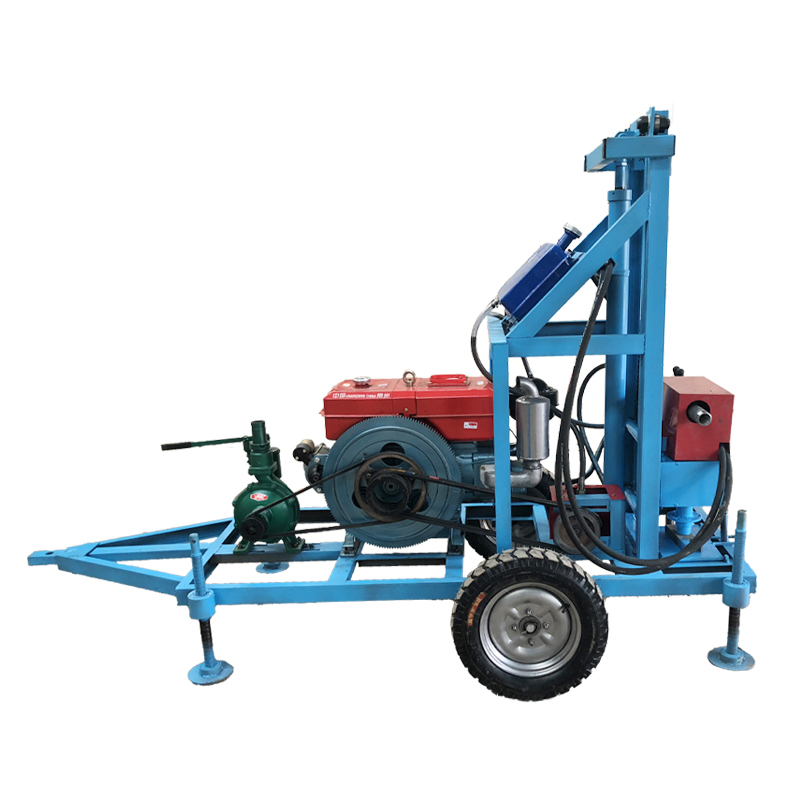 Diesel 12HP180View More >
 -
 FY380 water well drilling rigView More >
 -
 FY130 Water Well Drilling RigView More >
 -
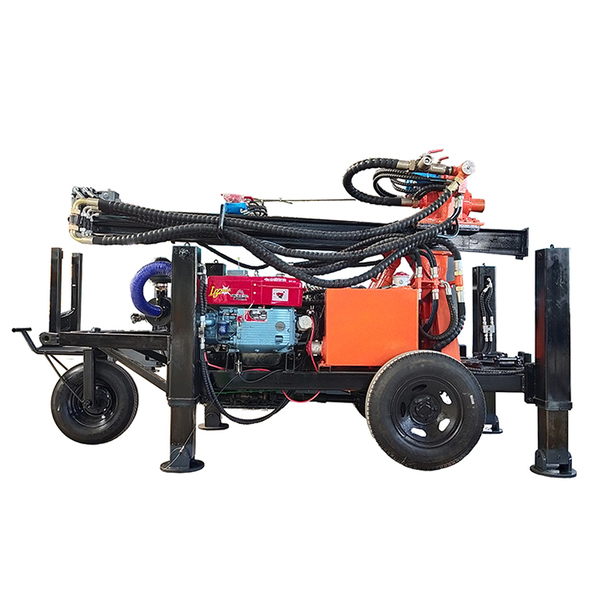
 FY280 Water Well Drilling RigView More >
 -
 FY580 Water Well Drilling RigView More >
Warning: Use of undefined constant rand - assumed 'rand' (this will throw an Error in a future version of PHP) in /www/wwwroot/www.sunritawdr.com/wp-content/themes/msk5/single.php on line 65
Previous :
Related news
-
water well drilling cost san antonio
-
water well drilling equipment for sale canada
-
how to drill own water well
-
ny dec water well drilling
-
water well drilling jobs philippines
-
swivel for water well drilling rigs
-
water well drilling quincy il
-
3 point water well drilling rig
Warning: Use of undefined constant rand - assumed 'rand' (this will throw an Error in a future version of PHP) in /www/wwwroot/www.sunritawdr.com/wp-content/themes/msk5/single.php on line 123
