
how to build a homemade water well drilling rig
2023-08-09
Accessing an abundant water source for your residence may feel out of reach, given the potential costs of professional well drilling. Fortunately, DIY craftsmen can construct their own water well drilling rig and reap the same reward at a fraction of the cost.
Not a project for the timid, constructing a water well drilling rig necessitates a lot of perspiration and commitment. Don’t worry, though—with the appropriate resources and helpful guidance, anyone can create their own such rig.
It is essential to contemplate the quantity of water desiderated and the magnitude of the region you are penetrating prior to setting off. Doing so will provide you with the vital information regarding the dimensions and class of construction for your apparatus.
If you plan on building a water well drilling rig from scratch, you will first need to assemble all your materials. This would include a trailer, a motor, a pump, pipes, and a drill bit. Additionally, you may require a set of tools such as wrenches, screwdrivers, and of course a drill to complete the project.
After securing the necessary tools and objects, you are now prepared to construct the rig. Start off by joining the trailer to the engine. Secure it to the trailer frame, making certain that you are using both screws and bolts for a steadfast link.
After the engine is hooked up, affix the pump and piping system. Ensure that you have fastened the tubing to the pump solidly, guaranteeing a leak-free bond.
The next step is to secure the drill bit onto the motor. This requires connecting it directly to the motor shaft and making sure it’s firmly in place. Taking the necessary precautions here will guarantee a successful application.
With preparation complete, we can now begin the drilling process. Ensure that the drill bit has been properly fixed to the apparatus and that the pipes are securely connected to the pumping station.
The tank must be filled to capacity with water prior to turning on the motor. When it is switched on, the drill bit will rotate and penetrate the earth’s surface.
Once you’ve sunk the pump to the depth of your choice, you’re ready to start collecting the water. All you have to do is connect a tube for a hose to the suction machine and turn on the tap. This will give you access to all of the water, which can be caught in an appropriate vessel such as a bucket.
Assembling a homemade drilling rig for a water well is no simple undertaking – however with the appropriate supplies and directions, it can be done by anyone! Start by fixing the trailer to the motor, and once finished creating the rig you’ll be prepared to commence drilling and collecting the life-giving resource. This project requires dedication and labour however the reward is worthwhile; you can now gain access to a dependable, bountiful source of water for your residence.
For those ready to get their hands dirty, the task of constructing a DIY water well drilling rig is an ideal adventure. All it takes is a little bit of knowledge, some essential equipment, ample perseverance, and a great game plan and you can have your own long-lasting source of fresh H2O in no time.
If you’re looking to create a DIY water well drilling rig, the first order of business is collecting all necessary parts. This includes a drill bit, motor, drill pipe, drill stem, drill head, pump and a bit holder. For safety’s sake, it is advisable to have a few extra pipes and heads handy to change out as needed.
With the drill bit holder in tow, we must now affix it to the drill pipe in a robust manner to guarantee it won’t move in the face of motor activation. This way, the drill bit stays firmly secured until it is needed, and our drill bit holder is fitted securely.
The next step is to affix the motor to the drill pipe, ensuring everything is fastened in place. After that has been attended to, the drill pipe can be hooked up to both the motor and the drill head.
Affixing the drill head is the fourth step of the process; firmly securing the drill head to the drill pipe is the key. Subsequently, connect the drill stem with both the drill head and pump, guaranteeing a sturdy assembly.
After everyone and everything is in place, it’s time to put the pump together. The first move is to attach the pump to the drill stem by creating a solid bond between the two pieces. After that, the drill bit holder should then be connected to the pump followed by the drill stem. Ensuring that these links are firmly established is essential, so don’t pass on any precaution when building your pump.
Ensuring complete and secure attachment, the sixth step in assembling the drill bit holder requires that it be connected to the drill stem. After confirming that the drill bit holder is attached firmly, it should then be coupled to the drill pipe and finally, to the drill head.
Assembling the drill pipe is the seventh step of the process. To achieve this, attach the drill pipe to the motor and then affix the drill bit holder to the drill stem and motor. Ensuring that all parts are securely secured is paramount for a successful drilling operation.
The eighth and penultimate step involves aligning the drill stem to the drill pipe and pump. The task of uniting them needs to be comprehensive to guarantee that the drill stem is immovably affixed, pursuing that; append the drill bit container to the pump and drill head.
With the ninth step in the assembly process complete, the drill head can now be securely attached to both the drill stem and the drill bit holder. Connect the drill pipe to the strongly positioned drill head, and then ensure it is linked to the motor. All components should be locked in place for success.
Following the ninth step, one must attach the motor to the drill pipe and the drill head to finish the assembly of the entire motor. Ensuring that the motor is firmly connected to its components, the drill stem is then joined to both it and the pump, completing the construction.
Next, the pump must be put together. To achieve this, it must be attached to the stem of the drill and the holder that secures the bit. When the pump has been fastened securely, it is time to link up the drill pipe to both the motor and the pump.
To build the drill bit holder, the twelfth step entails connecting it to the drill stem and the drill head. Afterwards, the motor should be synced to the drill pipe and the drill bit holder, making sure that all components are firmly supported.
Before the water well drilling rig can start churning, its components must all be in one place. It is essential to guarantee that everything is correctly configured and securely connected. Any adjustments or replacements should be taken care of prior to undertaking the practical tests.
Crafting a do-it-yourself well drilling rig can prove to be a formidable yet gratifying undertaking. With a little patience, an effective blueprint, and the ideal components, anybody can create a set-up that will last for an extended duration and yield an outstanding supply of freshwater.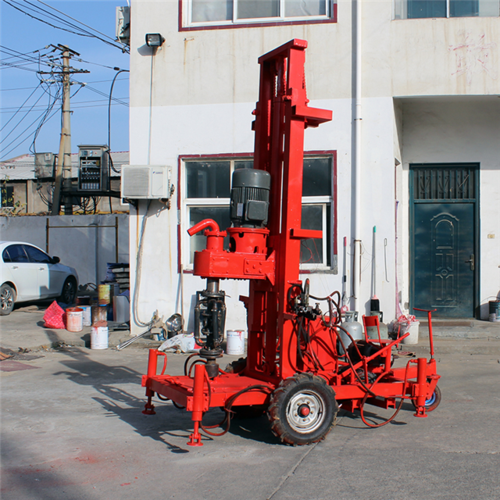
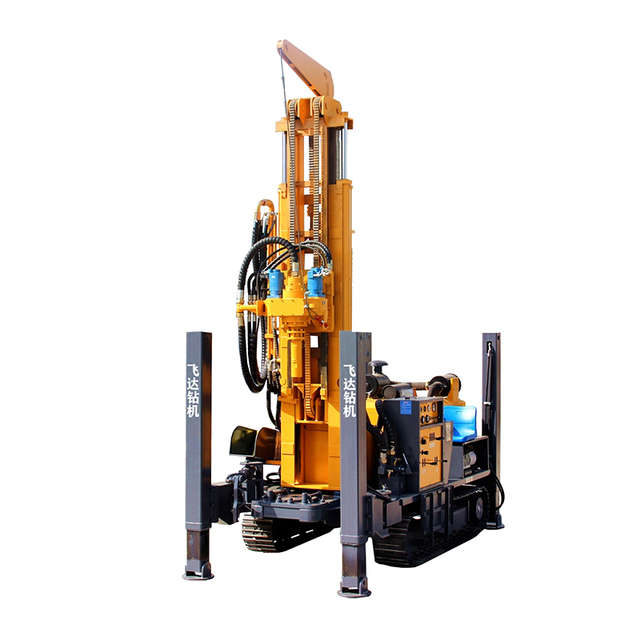
Related Products
-
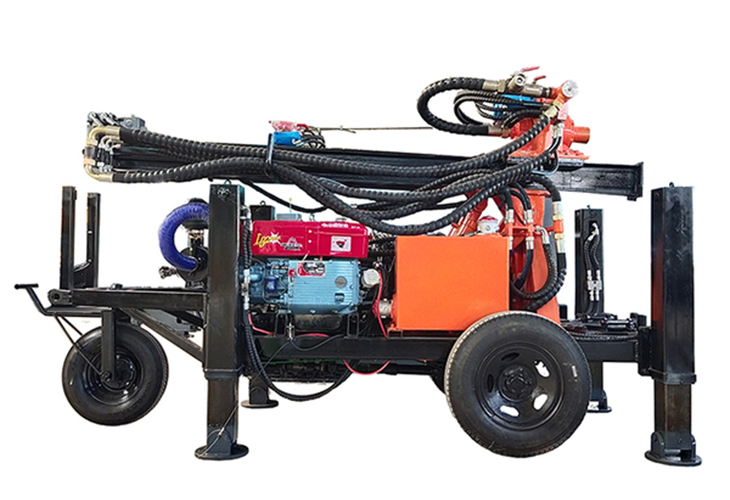
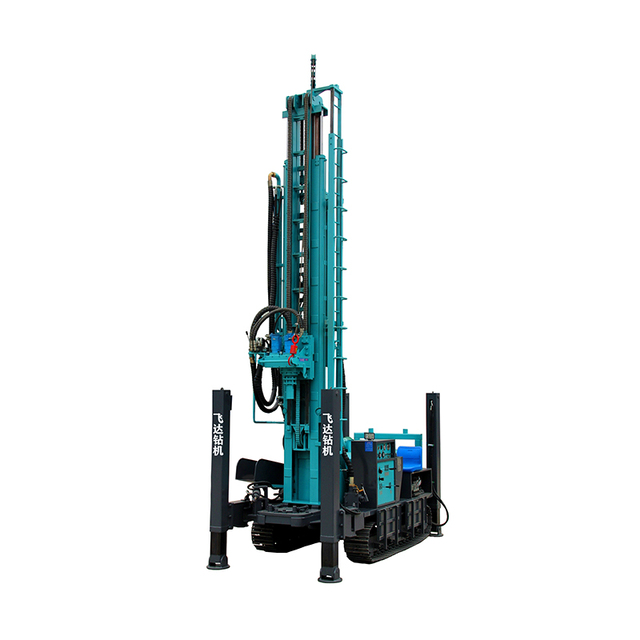
 FYL200 Water Well Drilling RigView More >
 -
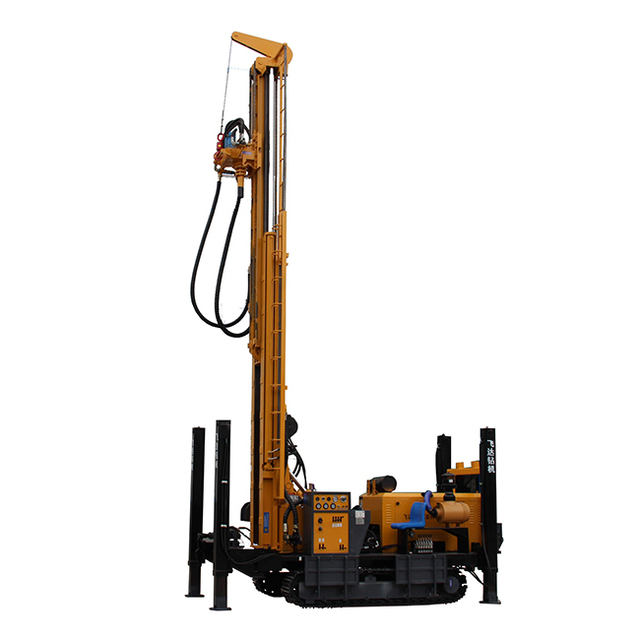
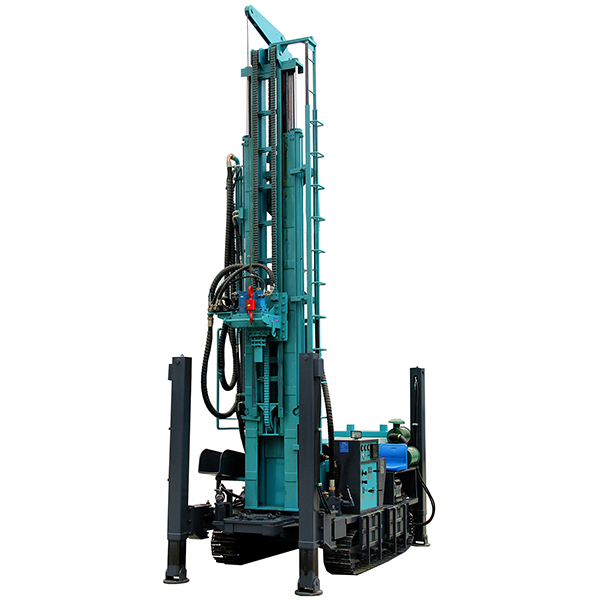
 FY580 Water Well Drilling RigView More >
 -
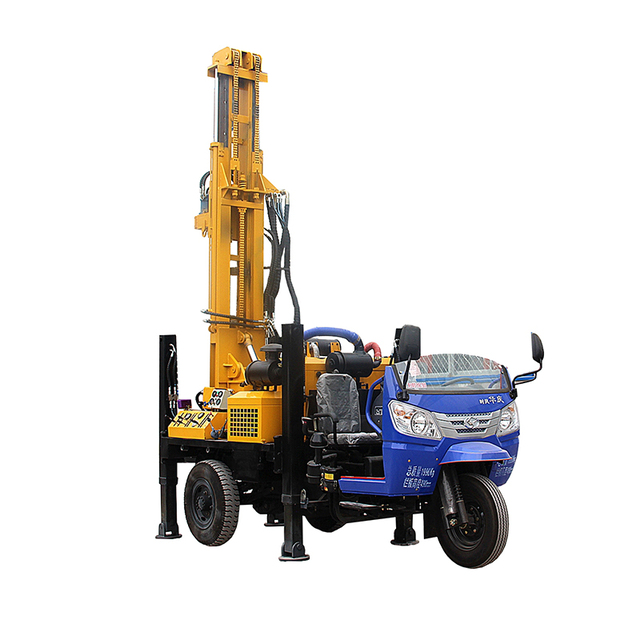
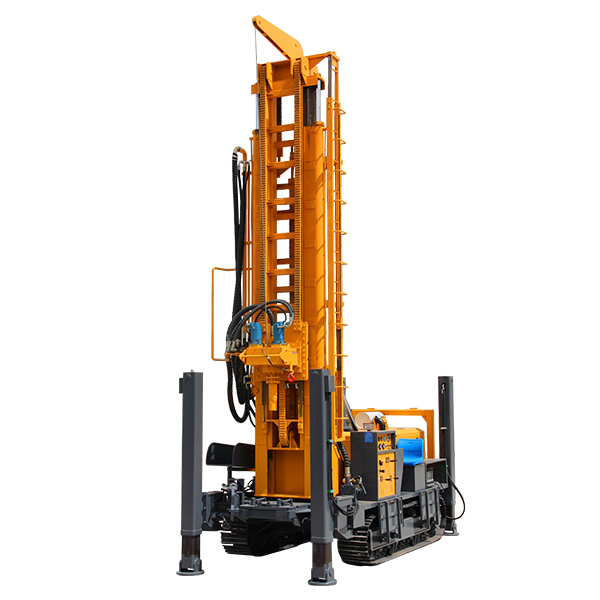
 FY350 Water Well Drilling RigView More >
 -
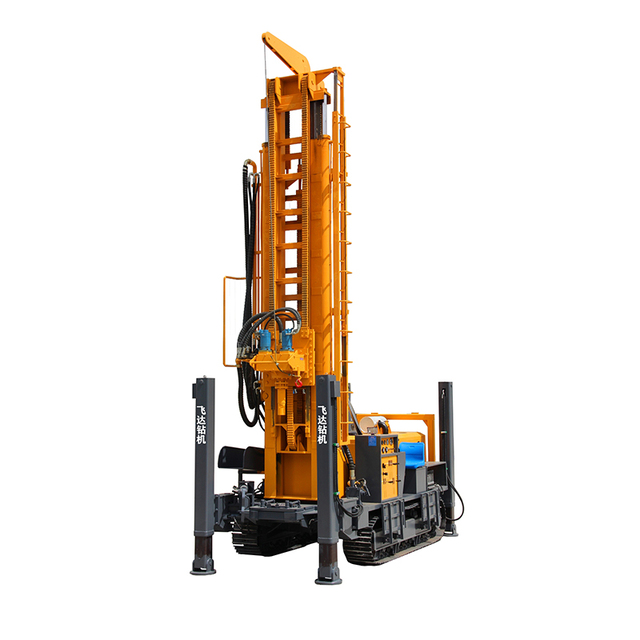
 FY500 Water Well Drilling RigView More >
 -
 FY800 Water Well Drilling RigView More >
 -
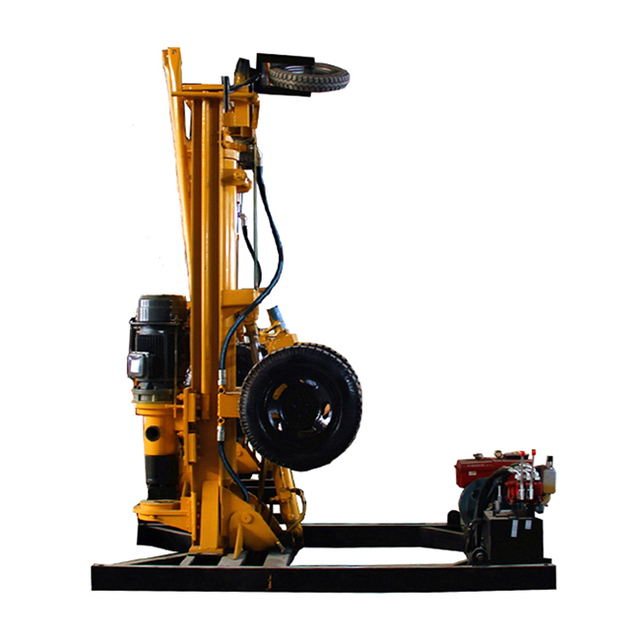 KQZ200D Shelf Drill Water Well Drilling RigView More >
 -
 FY300 Water Well Drilling RigView More >
 -
 FY450 Water Well Drilling RigView More >
 -
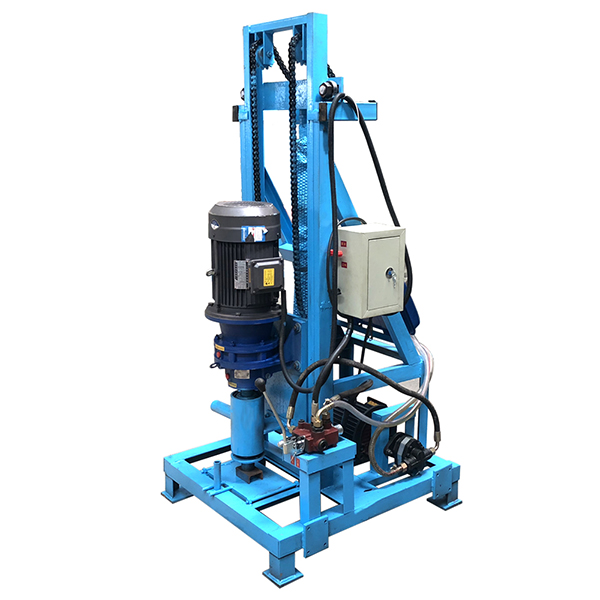 Electric 4000WView More >
Warning: Use of undefined constant rand - assumed 'rand' (this will throw an Error in a future version of PHP) in /www/wwwroot/www.sunritawdr.com/wp-content/themes/msk5/single.php on line 65
Previous :
Next :
Related news
-
build byu human powered water well drill
-
average cost of drilling a water well in texas victoria
-
used water well drill pipe for sale
-
first water well drilled on montague island jamaica va
-
upton wy water well driller
-
miller well drilling
-
well drilling truck
-
water well drill rig parts
Warning: Use of undefined constant rand - assumed 'rand' (this will throw an Error in a future version of PHP) in /www/wwwroot/www.sunritawdr.com/wp-content/themes/msk5/single.php on line 123
