
homemade water well drill bits
2023-06-17
Drilling a water well on your own personal land can easily become a reality if you possess the correct equipment. Building your own drill bit is ideal for large pieces of property and can be used for both irrigation and other purposes. In this article, we will take you through the steps for creating your own water well drill bit.
If you want to create a water well drill bit, then a pipe with a five-inch diameter is typically the best choice. All you need to do is affix a handle to the pipe so you can spin it and fasten a drill bit to the pipe’s rear. With these minor modifications, you can make your very own water well drill bit.
Metal pipe, at least five inches in diameter is the ideal material for transforming into a water well drill bit. Once welded and fitted with a handle, the pipe can be easily maneuvered and fixed with a drill bit at the end of it. All necessary steps for fabricating a most useful tool!
If you’re lacking in welding gear, you can also craft an excellent well drill bit using metal piping that has a minimum diameter of five inches. To make this feasible, a hole must be bored at one end so that a handle can be slotted in. To complete the process, affix a drill bit to the other end of the pipe.
To access underground water supplies, you must first create a borehole. This can be done with a post hole digger, which should be used to excavate a gap of two feet in diameter. Afterward, enlist a water well drill bit to enter the excavation and create an enclosed space for the collection of liquid deposits beneath your locale.
Undertaking a successful water well drilling project begins with slowly inserting the drill bit into the hole; then, the drilling process can commence. To ensure that the drill bit maintains a cool temperature, and successfully clears out any created debris, an adequate amount of water should be added to the hole during this time.
As you commence your drilling, it is essential to observe the condition of your drill bit. Should the metal begin to become heated, it is necessary to pause and allow it to cool. Once the temperature has returned to normal, continue with your drilling.
Once the aperture is made, the water well drill bit needs to be taken out in order for a PVC tube to be inserted. The plumbing conduit must have a minimum length of 24 inches.
After slipping the PVC pipe into the hole, you must top it off with a cap before attaching a valve to its end, making sure it is compatible with a water hose.
With the valve securely set, you can launch the water and permit it to move into the PVC tubing. This will allow the flow to emerge from the pipe and into the hole. Before long, once the water appears from the gap, you can simply close off the valve.
Following your work to dig a hole, all that’s left is to wait patiently for the water to rise. This process could take some time, yet once it has achieved the top of the cavity, you can open the valve and watch as the liquid exits.
Taking the PVC pipe from the hole is now possible. After its removal, affix a cap to its termination for added security. To this end, connect a valve, one that is compatible with a garden hose.
With the valve in position, allow the water to course through the PVC pipe. From there, it will cascade out of the hole, building up until the time is right to shut down the valve.
With patience, you’ll eventually witness the water level in the hole ascend to its peak. This can take a few hours, but after that it will be time to activate the valve and unleash the upstream liquid out of its resting place.
After taking the PVC pipe out of the gap, attach a cap to the terminal end. Subsequently, add a valve, connecting it to a water hose. You can now complete your setup.
After the valve is fixed, you can activate the water supply which will course through the PVC pipe. This will cause the water to seep out of the hole, at which point you should disable the valves.
Once your hole is filled to sufficiency with water, you’ll have to be patient and wait a few hours for everything to settle. Finally, when all the water has been absorbed, you’ll know that your work is finished.
Related Products
-
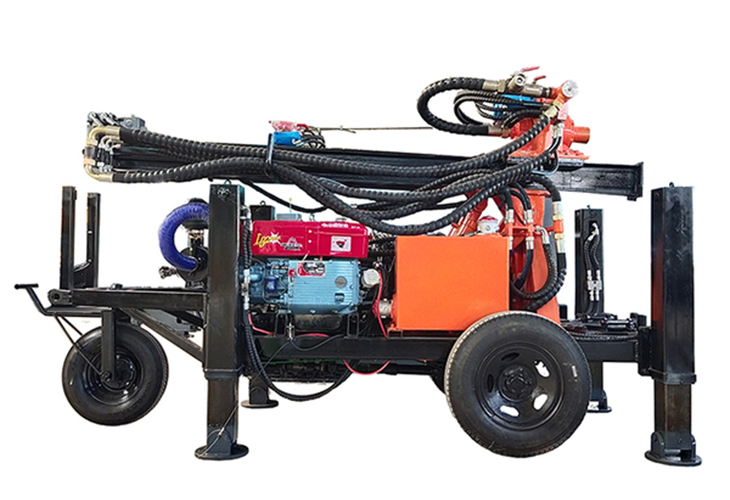
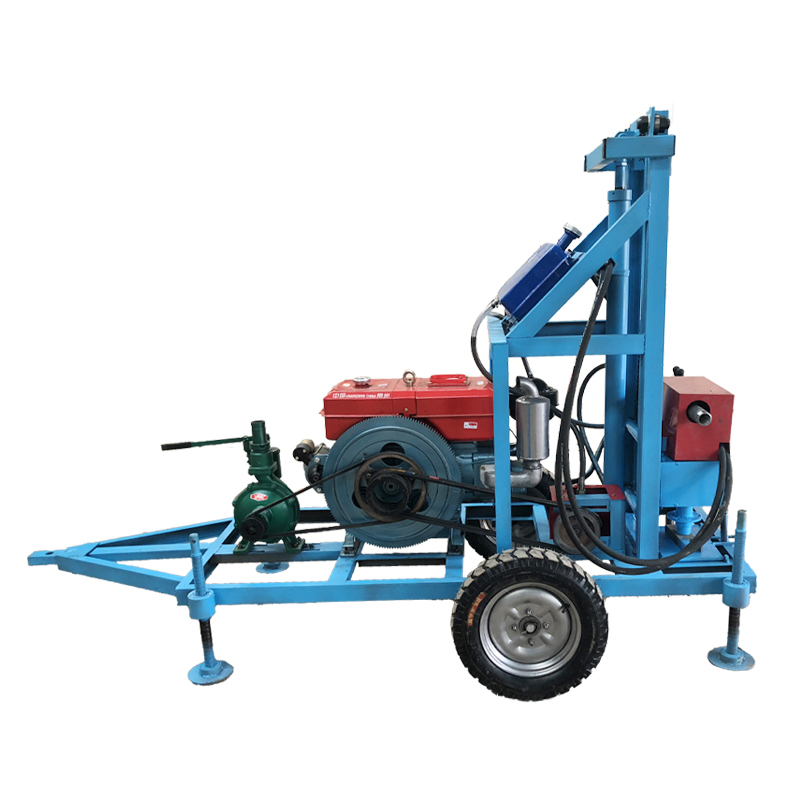
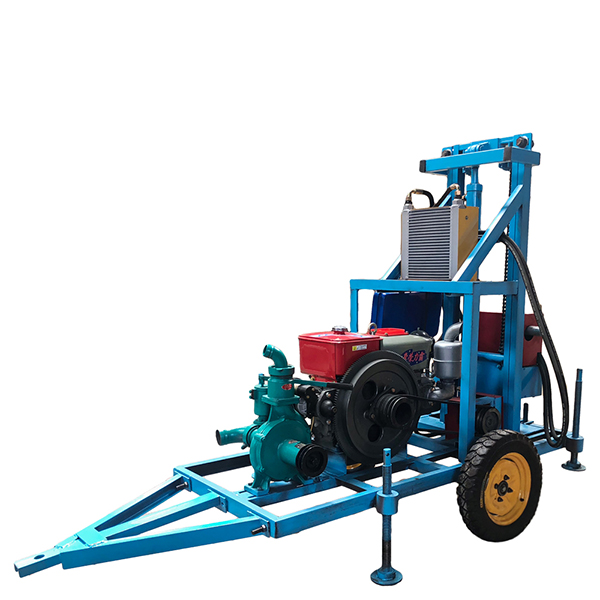
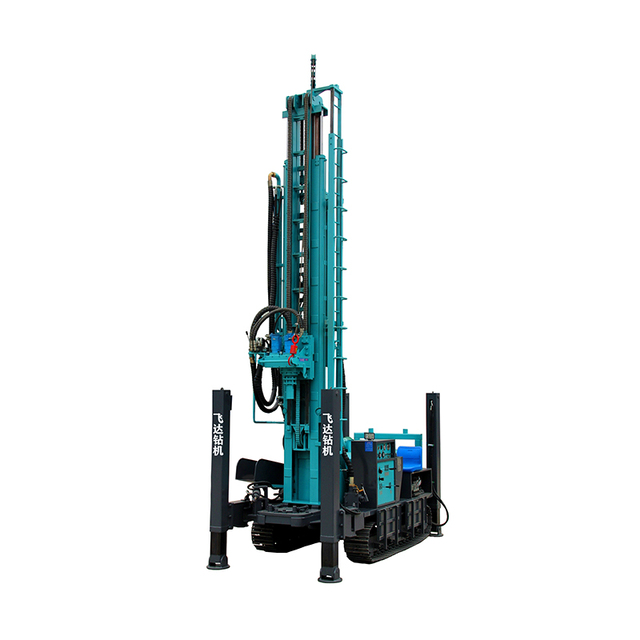
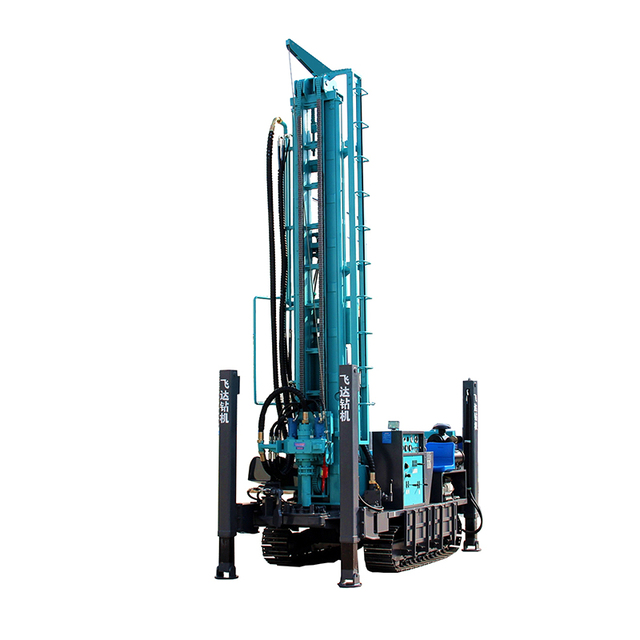 FY280 Water Well Drilling RigView More >
 -
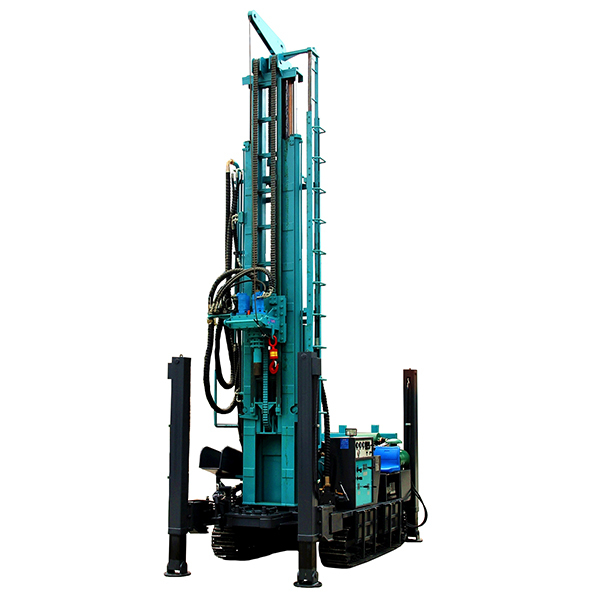
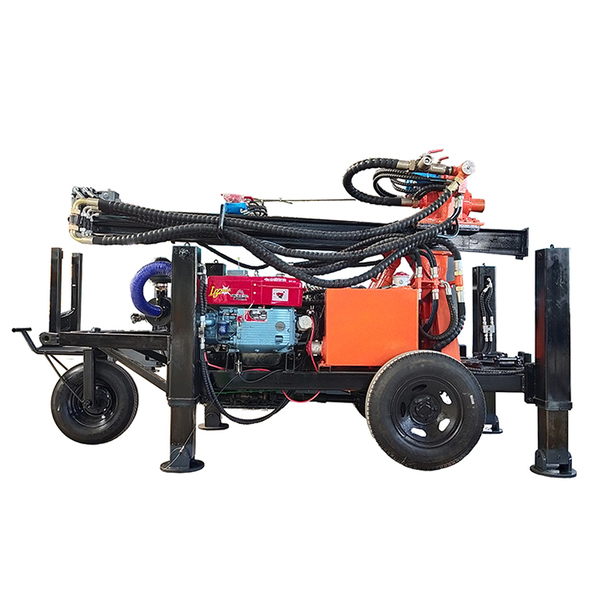 FY130 Water Well Drilling RigView More >
 -
 Diesel 12HP180View More >
 -
 Diesel 22HP180View More >
 -
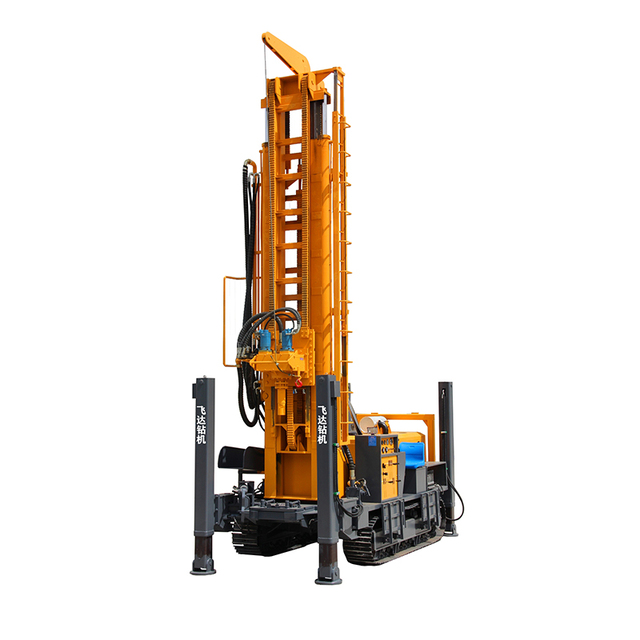 FY580 Water Well Drilling RigView More >
 -
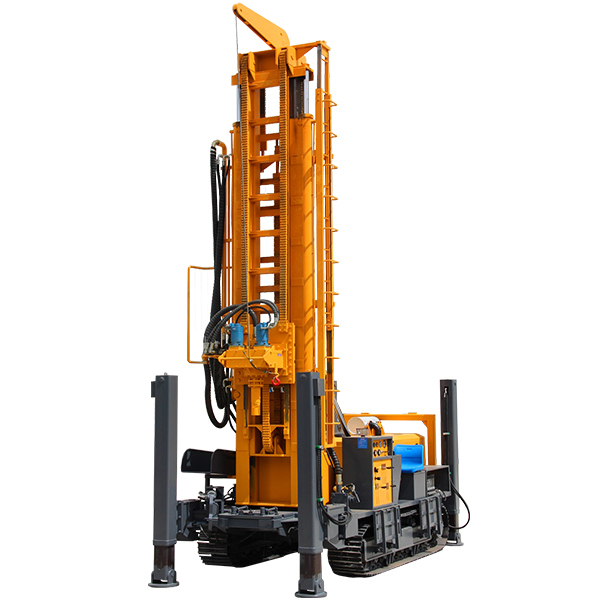 FY680 Water Well Drilling RigView More >
 -
 Electric 4000WView More >
 -
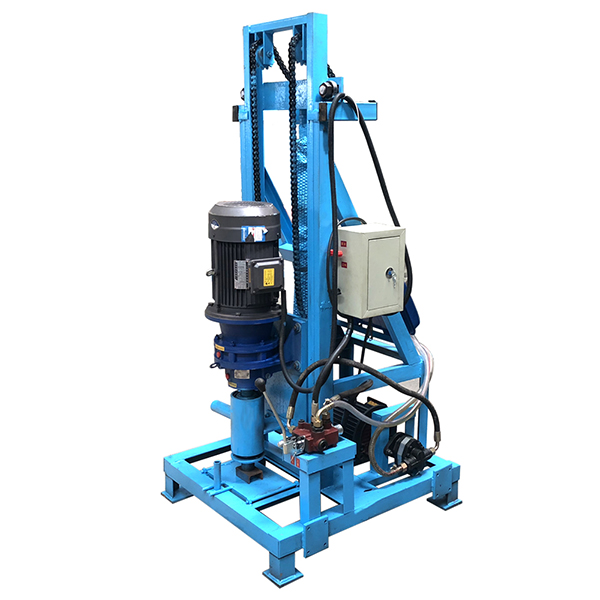
 FY350 Water Well Drilling RigView More >
 -
 FY380 water well drilling rigView More >
Warning: Use of undefined constant rand - assumed 'rand' (this will throw an Error in a future version of PHP) in /www/wwwroot/www.sunritawdr.com/wp-content/themes/msk5/single.php on line 65
Previous :
Next :
Related news
-
water well drilling companies in conroe
-
water well drilling newton ks
-
m.p walker water well drilling
-
cost of drilling water well in bly or area
-
deep rock water well drilling rigs for sale
-
douglas wy water well drilling
-
water well drilling yelm wa
-
mount water well drilling
Warning: Use of undefined constant rand - assumed 'rand' (this will throw an Error in a future version of PHP) in /www/wwwroot/www.sunritawdr.com/wp-content/themes/msk5/single.php on line 123
